I tried a friends’ Gear VR a couple of months back and was immediately excited by the possibilities for animation. Being ‘inside’ an animated world is something very unique to the VR experience. I don’t want to just enjoy this as a passive thing though, I want to create my own content. I’ve wondered though, is this even possible without a large team of people? Only one way to find out I guess..
I’m going to document my tests here and talk about the tools, successes, failures and what I learn at each stage. To begin with I tried to figure out what tools would be accessible and comfortable for me to work with. After an early test of rendering for VR with a plugin for C4D using Cinemas native render engine it became very obvious that this approach was not going to fly for animation as with the amount of iteration required to get good results it was far too slow. So I started looking around and found the Playblast VR plugin for Maya from Andrew Hazelden. I bought this and found that it sped things up considerably as it allows you to get decent looking results using Mayas’ Viewport 2.0 hardware renderer. Essentially the plugin renders the scene from 6 views and then stitches them together in a variety of formats. The one I’ve mainly been using for the moment is the Latlong type as this is readily compatible with YouTube and Facebooks’ 360 video. Once I got this and started testing I found that some of my go-to features in VP2.0, like screen-space AO would not work in a 360 render, due to the nature of the effect – it works in screenspace only, which is fine for a 2d playblast, but not for a 360 degree stitched image.
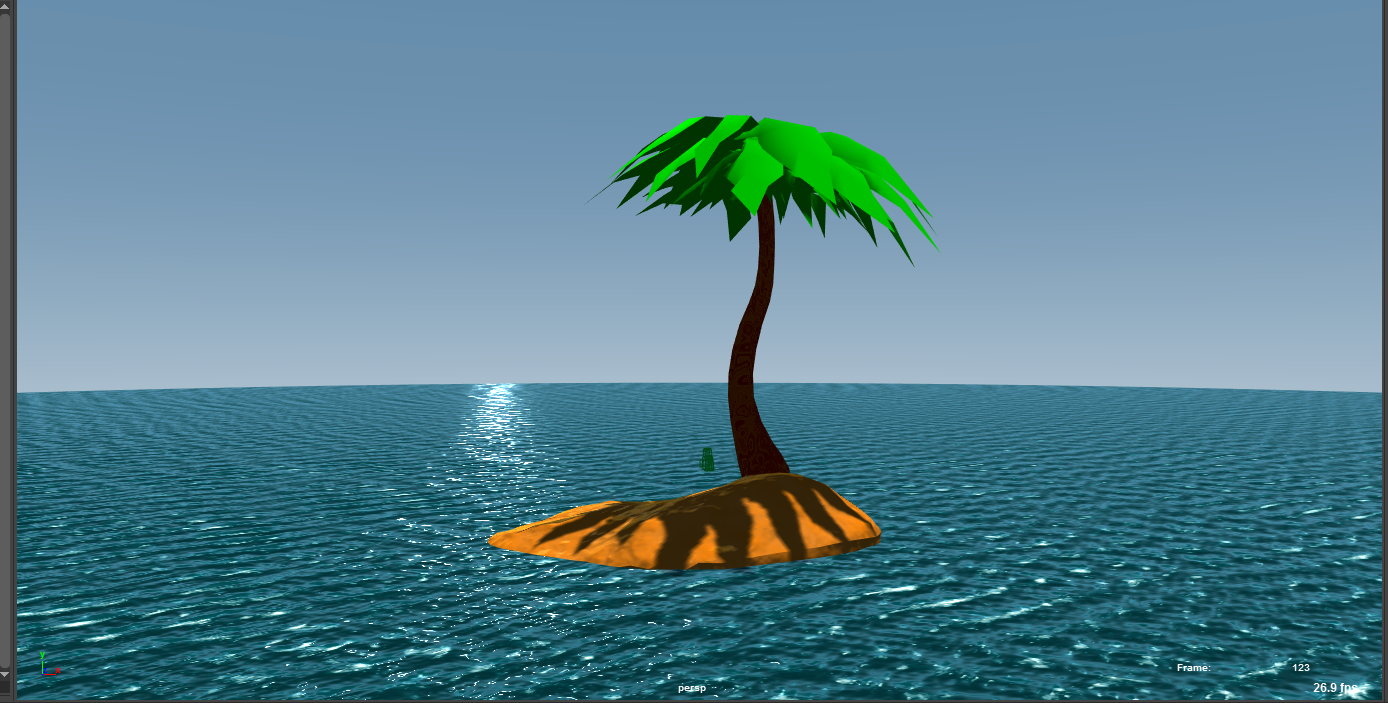
Viewport 2.0 in Maya in general is pretty good though, certainly good enough for previs and testing of 360 setups and my next little test was to set up a simple scene to use for animation testing. To that end I modeled up a low-poly island and palm tree in ZBrush and set them up in Maya at the center of the world and used Mayas’ ocean shader to create some simple water. That gave me the look in the attached screen shot. It certainly doesn’t look realistic but my tastes in animation lean towards the cartoony so I’m more interested in achieving that in VR in any case. I’m also trying to keep things as simple as possible so that renders are fast and I can iterate as mentioned above.
To give some life to the scene I then animated a deformer on the palm tree leaves to get them moving and added a couple of looping character animations with the characters surfing across the ocean. Lastly I created a background sound effect using some of my favorite electric guitar effects. I put that alongside a 400 frame animation in After Effects and rendered out a Mp4 I could load on my phone, a Samsung S7, and tested in the Gear VR.
One of the big things you run into is dealing with scale/distance from camera as with the wide-angle view of the VR camera things can look very strange. Even figuring out how high the camera should be from the ground took a good bit of testing. What can look fine in a still image on a PC monitor can feel very different when viewed though the Gear VR strapped to your head. To help figure this out I did a lot of still frame renders with Playblast VR and checked on the Gear.
The other thing I noticed was that the frame rate I usually animate in (24 fps) felt too blocky in VR. I’m not sure exactly why it is but once you can move your head and look around the scene the frame rate really seems to affect how substantial it feels. So I went back to Maya and set the project to 48 fps instead, just leaving Maya to interpolate the existing animation and the results looked a lot better, if a little over-smoothed. Probably I’ll have a new learning curve with dealing with high frame rate animation.
I ran into a few technical issues with the 48fps change, most notably I found that After Effects didn’t want to export to MP4 at that rate so I had to export an uncompressed AVI (huge file!) and then I converted that to MP4 with the free tool Handbrake. So clearly hard drive space is a consideration for this, especially with rendering at the Gears native resolution of 2880×1440. I remember when rendering at 1080p seemed extreme!
Since this first test I’ve also started looking at more tools and options.. but that’s for the next post.
Pingback: VR adventures part 2. | Graphite9