A very quick (blink and you miss it!) test of timing and spacing. I sometimes feel I’m too conservative with my spacing so this is an attempt to push more in a cartoony way.
The rig is from iAnimate.net
A very quick (blink and you miss it!) test of timing and spacing. I sometimes feel I’m too conservative with my spacing so this is an attempt to push more in a cartoony way.
The rig is from iAnimate.net

Thought for the day – this book isn’t one of the ‘big’ animation books I guess (Like IOL or ASK etc) but it contains one vital piece of advice that he really stresses – the need to do your first pass at something as quickly as possible.
The more I animate/draw/write music the more this comes back to me as a really important thing to keep in mind. There’s a real tendency to associate ‘time invested in something’ with ‘quality of the idea’. But that association may not be correct at all. Often our first ideas are cliche, or not as interesting as they could be. But after working on something for a while we form attachments to it, simply based on the amount of time we’ve invested in it.Our brains are then very reluctant to accept the idea that maybe what we are doing isn’t great and it may be better to scrap it and start fresh with a better idea.
I think this is particularly prevalent in the digital side of things. It’s so easy to get lost in endless edits and noodling something trying to push it into some kind of shape when often the initial idea didn’t really have enough spark to begin with. When working on paper there’s a lot less of that usually as you have to get the basic thing down in the first pass, or you move on to another quick pass if it’s not right.
I notice a lot in Jason Ryan’s weekly animation demos how fast he works initially and how he’ll make a note to come back and fix something but he doesn’t get bogged down in the ‘noodling’ stage. And of course his initial passes are often super rough Flipbook tests which he chops and changes constantly as he works on them.
I’ve noticed too when I write music the pieces I create spontaneously into a Looper tend to have much more life and energy than the ones I start off with in a DAW, again the ability to work fast beats the ability to tweak things into submission.
The trick really I guess is capturing that initial spark of the idea as quickly as possible and then managing to iterate on it to improve it without loosing the spark in the process!
The more I draw the more ways I find it helps me with the CG side of things, I’m working on a personal test animation in my spare time recently and needed to figure out some scenery ideas for it. Usually I’d rough out some rough models right inside Maya but in this case I just took a screen shot of my existing scene and brought it into Clip Studio and drew over it. I found that made it much easier to quickly iterate on a few different ideas until I found something I liked. I then blocked that out back in Maya much more quickly using the drawing as a reference.
I’ve learned a good bit this week about tools and techniques for animation for VR. The first technical hurdle I solved was the high image size/high frame rate of the rendered sequences issue I mentioned in my previous post. I found a simple (and free!) solution was to use Blender to comp the image sequences and render out Mp4s. Not being a regular Blender user I was surprised to see how capable and flexible it is for this but it’s really simplified things for me. No more need to render uncompressed AVIs from AE now and compress them in Handbrake, Blender handles exporting to Mp4 beautifully.
The other thing I’ve been exploring this week is Stereoscopic VR. A mono 360 video is nice.. but once you add depth with a stereo version it’s a whole lot more visually interesting and immersive. Of course that rears one issue though – a time effective way of rendering in stereo. At the beginning of the week I started testing the demo version of Redshift for Maya which has mono and stereo spherical cameras and was blown away with how fast it is on my machine as it uses the graphics card (I’m currently using a GTX 1080) rather than the CPU to do the heavy lifting in render calculations. After a few days of testing with watermarked images I took the plunge and bought the plugin. I rendered a 400 frame animation test overnight last night at 2880×2880 and it did it in just over 8 hours with very acceptable levels of noise. The attached image here shows one side of the stereo image, rendered in Spherical format which is compatible with Facebook 360 photos.
The great thing with Redshift is that you can turn the samples right down and get a quick and dirty preview to check animation before commiting to the overnight render, I got frames down to about 3 seconds each for these tests which is even faster than what I was getting with Playblast VR. I do a lot of checking of these in the Gear VR to see how scale, distance and other factors are working in the animations.
For those interested in sharing their 360 renders on Facebook there are a couple of tricks to getting Facebook to understand that it’s a 360 photo, one is to make sure the image has a 2:1 aspect ratio and the other is to embed camera metadata in the image file that makes Facebook think that it’s a photo taken by a 360 camera. For that I used Exiftool. Once you’ve got this working anyone on Facebook with their smartphone can look around the image with their phone acting as a virtual window into it. The Facebook app on Android also directly supports the Gear VR with a ‘view in VR’ option appearing on the 360 image which when clicked asks you to insert the phone in the Gear and it’s right there to look around in. Very cool. Right now I’ve yet to experience a Facebook friend trying this option but with Gear VR sales being over a million by now I believe it’s only a matter of time.
So now I’m happy that I have a practical one-man pipeline set up for animation testing, currently I’m working on the look of the environment and populating it with interesting things to keep the viewer looking around in this virtual world.
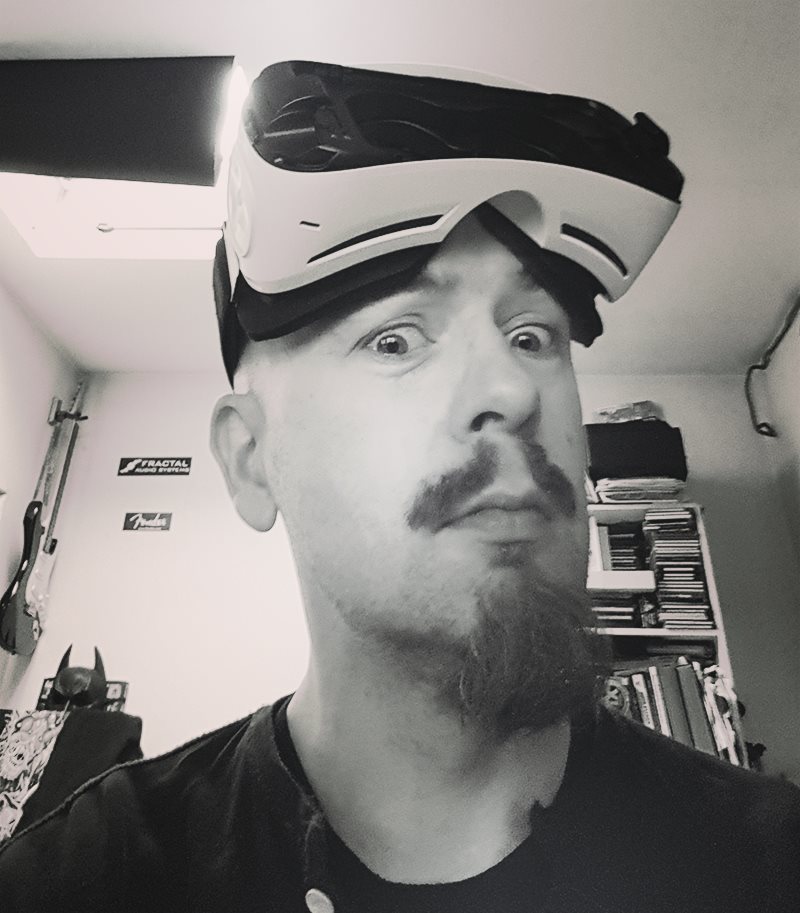
I tried a friends’ Gear VR a couple of months back and was immediately excited by the possibilities for animation. Being ‘inside’ an animated world is something very unique to the VR experience. I don’t want to just enjoy this as a passive thing though, I want to create my own content. I’ve wondered though, is this even possible without a large team of people? Only one way to find out I guess..
I’m going to document my tests here and talk about the tools, successes, failures and what I learn at each stage. To begin with I tried to figure out what tools would be accessible and comfortable for me to work with. After an early test of rendering for VR with a plugin for C4D using Cinemas native render engine it became very obvious that this approach was not going to fly for animation as with the amount of iteration required to get good results it was far too slow. So I started looking around and found the Playblast VR plugin for Maya from Andrew Hazelden. I bought this and found that it sped things up considerably as it allows you to get decent looking results using Mayas’ Viewport 2.0 hardware renderer. Essentially the plugin renders the scene from 6 views and then stitches them together in a variety of formats. The one I’ve mainly been using for the moment is the Latlong type as this is readily compatible with YouTube and Facebooks’ 360 video. Once I got this and started testing I found that some of my go-to features in VP2.0, like screen-space AO would not work in a 360 render, due to the nature of the effect – it works in screenspace only, which is fine for a 2d playblast, but not for a 360 degree stitched image.
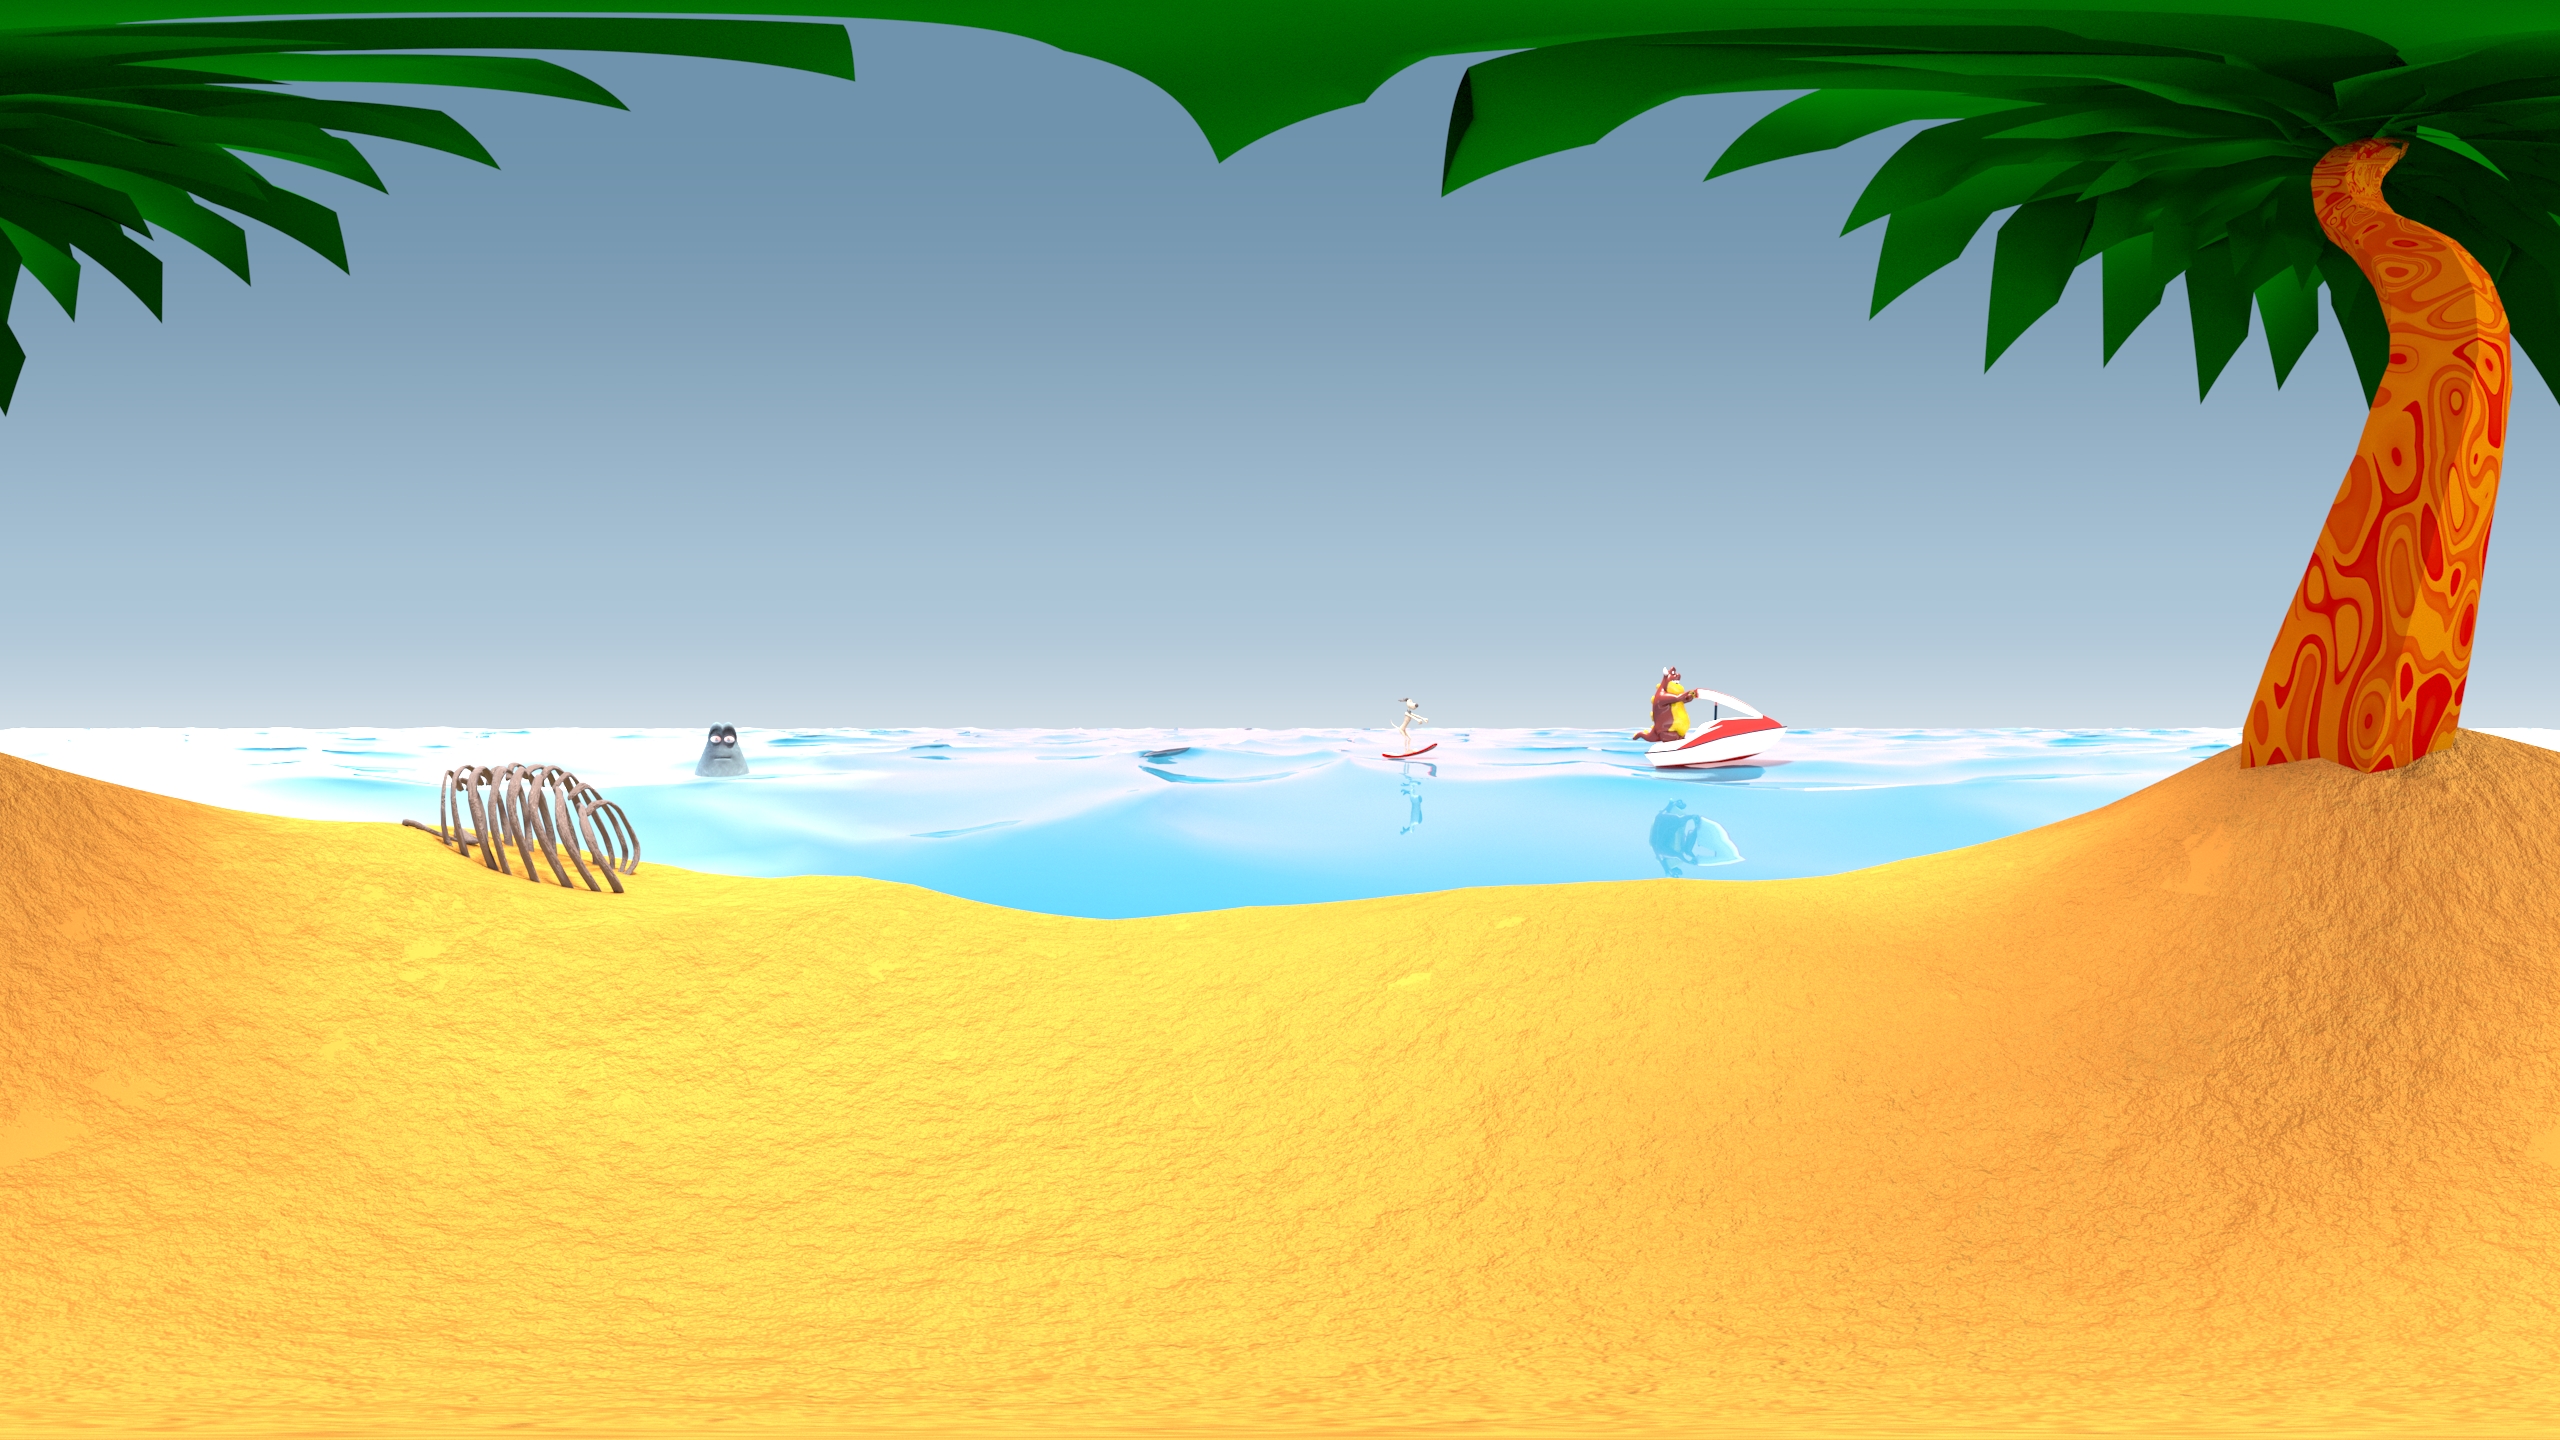
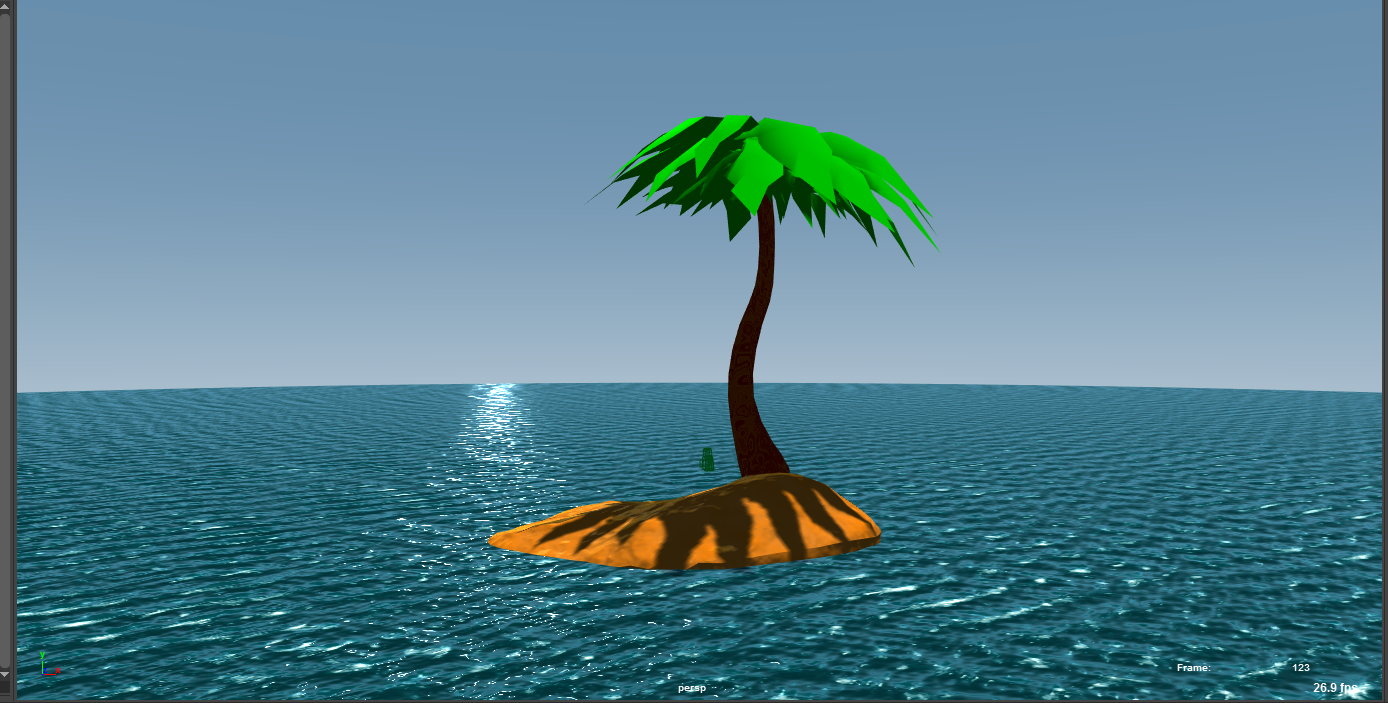
Viewport 2.0 in Maya in general is pretty good though, certainly good enough for previs and testing of 360 setups and my next little test was to set up a simple scene to use for animation testing. To that end I modeled up a low-poly island and palm tree in ZBrush and set them up in Maya at the center of the world and used Mayas’ ocean shader to create some simple water. That gave me the look in the attached screen shot. It certainly doesn’t look realistic but my tastes in animation lean towards the cartoony so I’m more interested in achieving that in VR in any case. I’m also trying to keep things as simple as possible so that renders are fast and I can iterate as mentioned above.
To give some life to the scene I then animated a deformer on the palm tree leaves to get them moving and added a couple of looping character animations with the characters surfing across the ocean. Lastly I created a background sound effect using some of my favorite electric guitar effects. I put that alongside a 400 frame animation in After Effects and rendered out a Mp4 I could load on my phone, a Samsung S7, and tested in the Gear VR.
One of the big things you run into is dealing with scale/distance from camera as with the wide-angle view of the VR camera things can look very strange. Even figuring out how high the camera should be from the ground took a good bit of testing. What can look fine in a still image on a PC monitor can feel very different when viewed though the Gear VR strapped to your head. To help figure this out I did a lot of still frame renders with Playblast VR and checked on the Gear.
The other thing I noticed was that the frame rate I usually animate in (24 fps) felt too blocky in VR. I’m not sure exactly why it is but once you can move your head and look around the scene the frame rate really seems to affect how substantial it feels. So I went back to Maya and set the project to 48 fps instead, just leaving Maya to interpolate the existing animation and the results looked a lot better, if a little over-smoothed. Probably I’ll have a new learning curve with dealing with high frame rate animation.
I ran into a few technical issues with the 48fps change, most notably I found that After Effects didn’t want to export to MP4 at that rate so I had to export an uncompressed AVI (huge file!) and then I converted that to MP4 with the free tool Handbrake. So clearly hard drive space is a consideration for this, especially with rendering at the Gears native resolution of 2880×1440. I remember when rendering at 1080p seemed extreme!
Since this first test I’ve also started looking at more tools and options.. but that’s for the next post.
This is a method I like to use sometimes to animate overlap and settle, it’s very controllable, quick to do and can give a pretty subtle result. In this case I demonstrate it on Jupiter’s ears and hair but it can be used on all kinds of things to add more life to the animation.
Hope you find it useful and happy animating!
The Jupiter rig is from iAnimate.net
Took delivery of a Samsung Gear VR yesterday, looking forward to exploring new possibilities in animation.
Another little test of combining character animation with the new mograph tools in Maya 2016 Ext 2.
About time I started exploring this 360 rendering thing, I tried out a GearVR headset recently and was very excited by the possibilities.
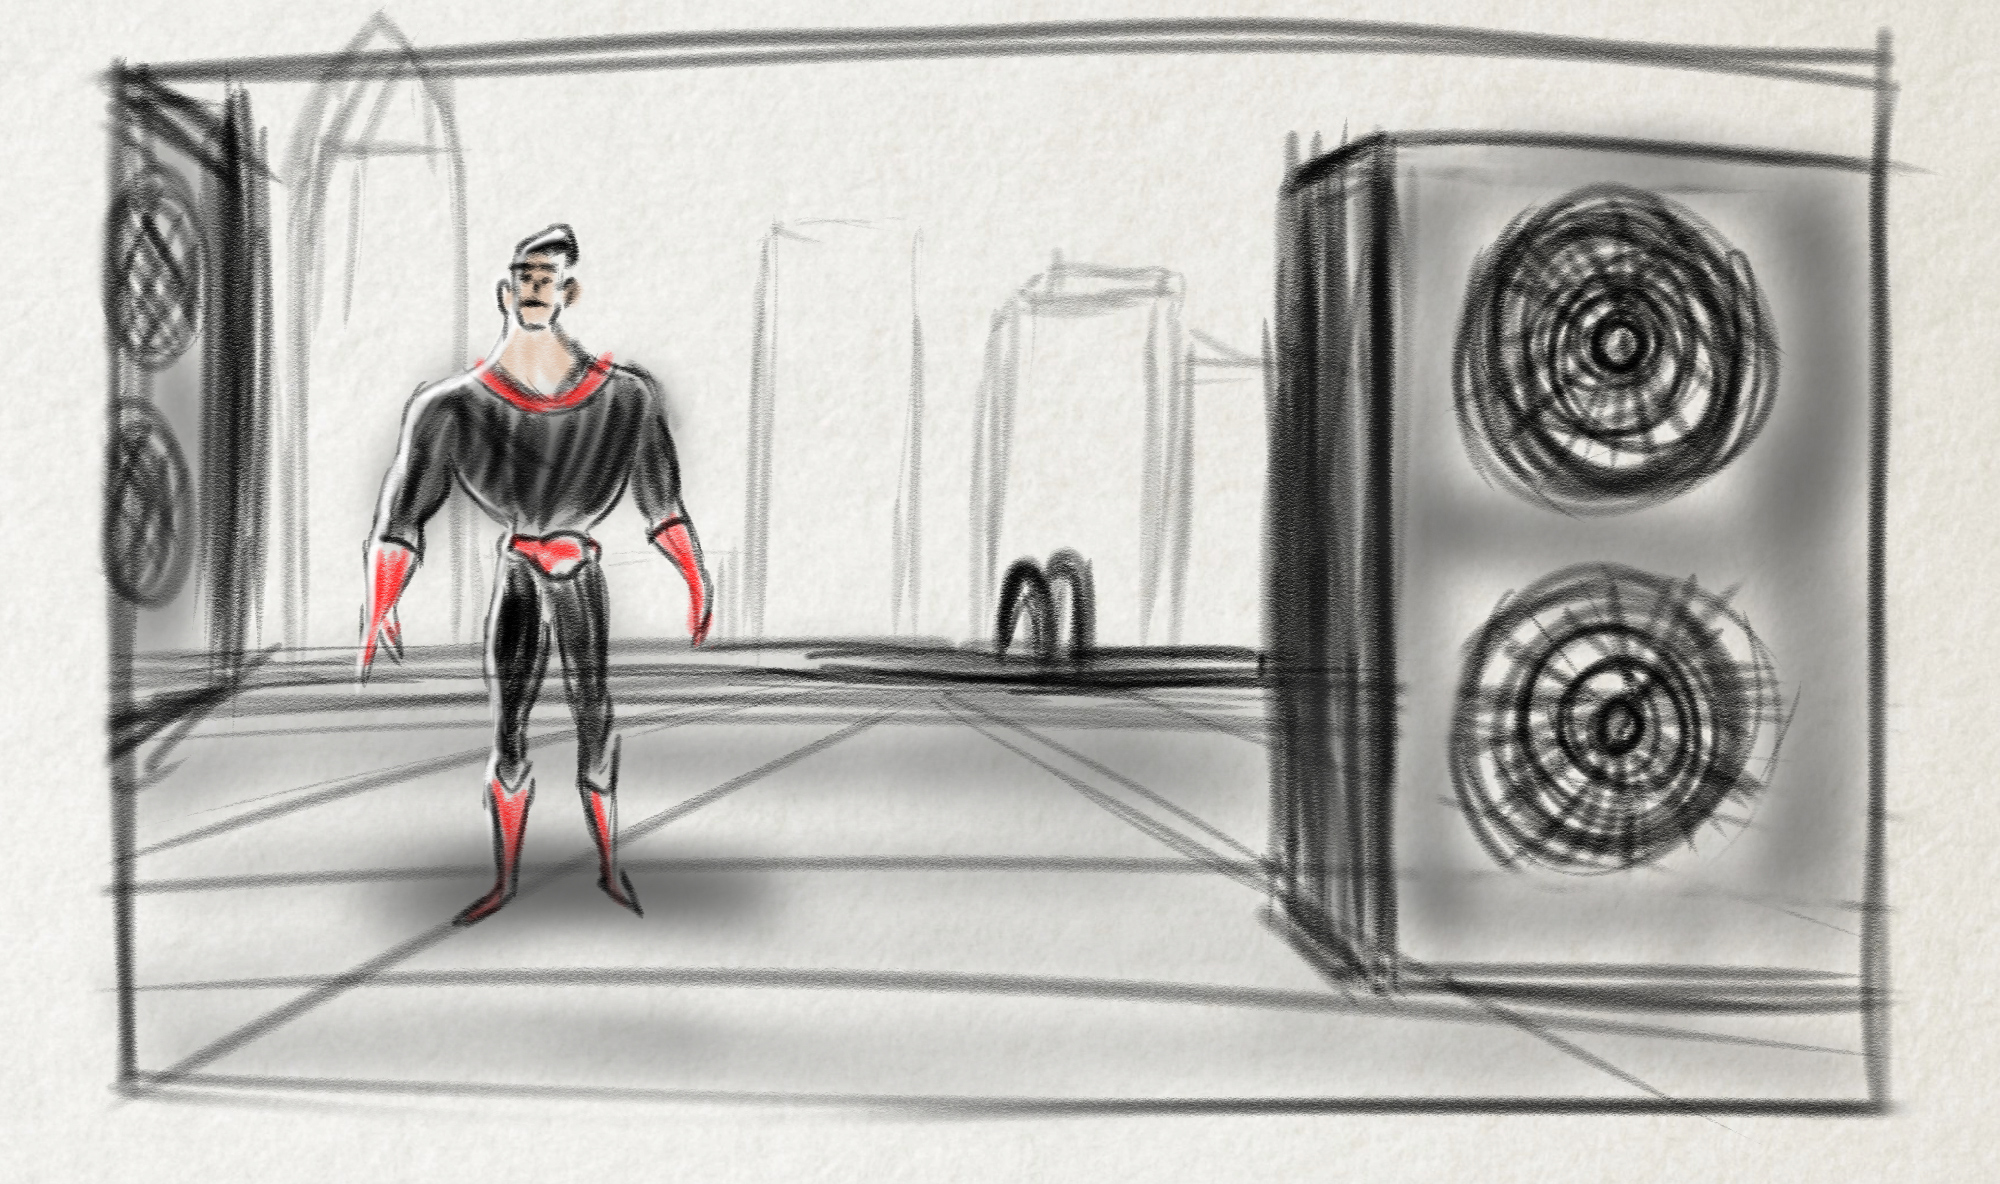
Super rough test here just to figure out the mechanics of how this works for but it’s a start..
Monster character was a rough animation test I did with a character I rigged for O-Motion, used with permission.
Click and drag on the video to see monsters all around you!
A second test of my bhMultiples script, still exploring the workflow and how best to use it. After doing this one I have a list of options I want to add to the tool now to make it faster and easier to use.
The rig I’m using here by the way is the great new Marty rig from iAnimate.net.